
Renovation Station
Things are a-bustle around here. The house looks like its been hit by a bomb as I sort through what few things we'll take with us, what few things we'll store at Justin's parents' house, and what we're selling/donating/etc. The list for the first two things are quite short, while the "sell/donate/etc" list is quite long. We've been focused on getting our still-nameless trailer painted and renovated while we still have tools and space (an an address that Amazon will ship to!). It's been seriously crazy town and I'm pretty sure my friends, family, and clients all thing I've entirely disappeared from the face of the earth at this point!
Like any renovation project, we've run into a few hiccups along the way. We want to be sure to share all of our snags as well as our triumphs, so be prepared for some epic #fail moments as we figure out what the hell we're doing here.
We began the reno by painting everything but the cabinets. I just couldn't handle that much wood and it felt a little dark and claustrophobic to me. Also, while you couldn't really tell at first glance, most of the "wood" was mis-matched fiberboard paneling and some pieces were full-on different colors. The closer we look, the crappier the craftsmanship is revealed to be.
After googling the crap out of how to paint an rv/camper/travel trailer. A few themes popped up:
- a general recommendation against sanding fiberboard as it can't stand up to much abrasion
- instead of sanding, use a chemical de-glosser/sander
- Glidden's Gripper primer was almost universally recommended
- consider exterior paint for extra durability
So. I purchased chemical de-glosser and wiped everything we were planning to paint down with it. Here's where we hit our first minor snag. While the bottle and the world of google were full of directions for using it in a properly ventilated area and other such safety precautions, other than a basic instruction to use a clean cloth to wipe it off and that a second coat could be applied if necessary after 10 min, I couldn't find any actual instructions on how to use it or what to expect or how to know whether it was working. So I donned rubber gloves and a mask and opened all of the windows in the trailer and went over every surface we were planning to paint, followed by a wipe down with a clean cloth. Nothing looked different, but what do I know about de-glosser?
Next we painted everything with two coats of Gripper. It went on fine in most places, but I definitely noticed a few places where it did that beading-up sort of thing that started to worry me. But the second coat went on just fine and a scratch test seemed to indicate that everything was adhering, so I continued to proceed. I realized later that Gripper comes in an "all-purpose" version and a "hard-to-stick-surfaces" version. We didn't realize that there were two varieties and ended up with the first. Oops.
After the Gripper had a chance to dry, we applied two coats of high-gloss bright white interior/exterior paint. We knew the gloss would show imperfections, but felt like it was worth it for the increased light reflectiveness as well as the most wipe-ability.
Y'all it looks GOOD. And so much brighter.
But.
I think you might know where I'm going with this. When we started pulling the tape off, the edges of the paint began peeling up. We haven't tested to figure out just how vulnerable the entire paint job is (mostly because we simply don't have time to fix it all at this point), but it's not looking ideal. Our short-term solution? Caulk down the edges, be careful not to ding up the paint, and have extra primer/ paint handy for touch-ups.
I don't know if it was a poor application of deglosser on my part (since I didn't really know what I was looking for) or the all-purpose vs the hard-to-stick-surfaces primer mix up, but for those of you considering a similar project...maybe do a test area?
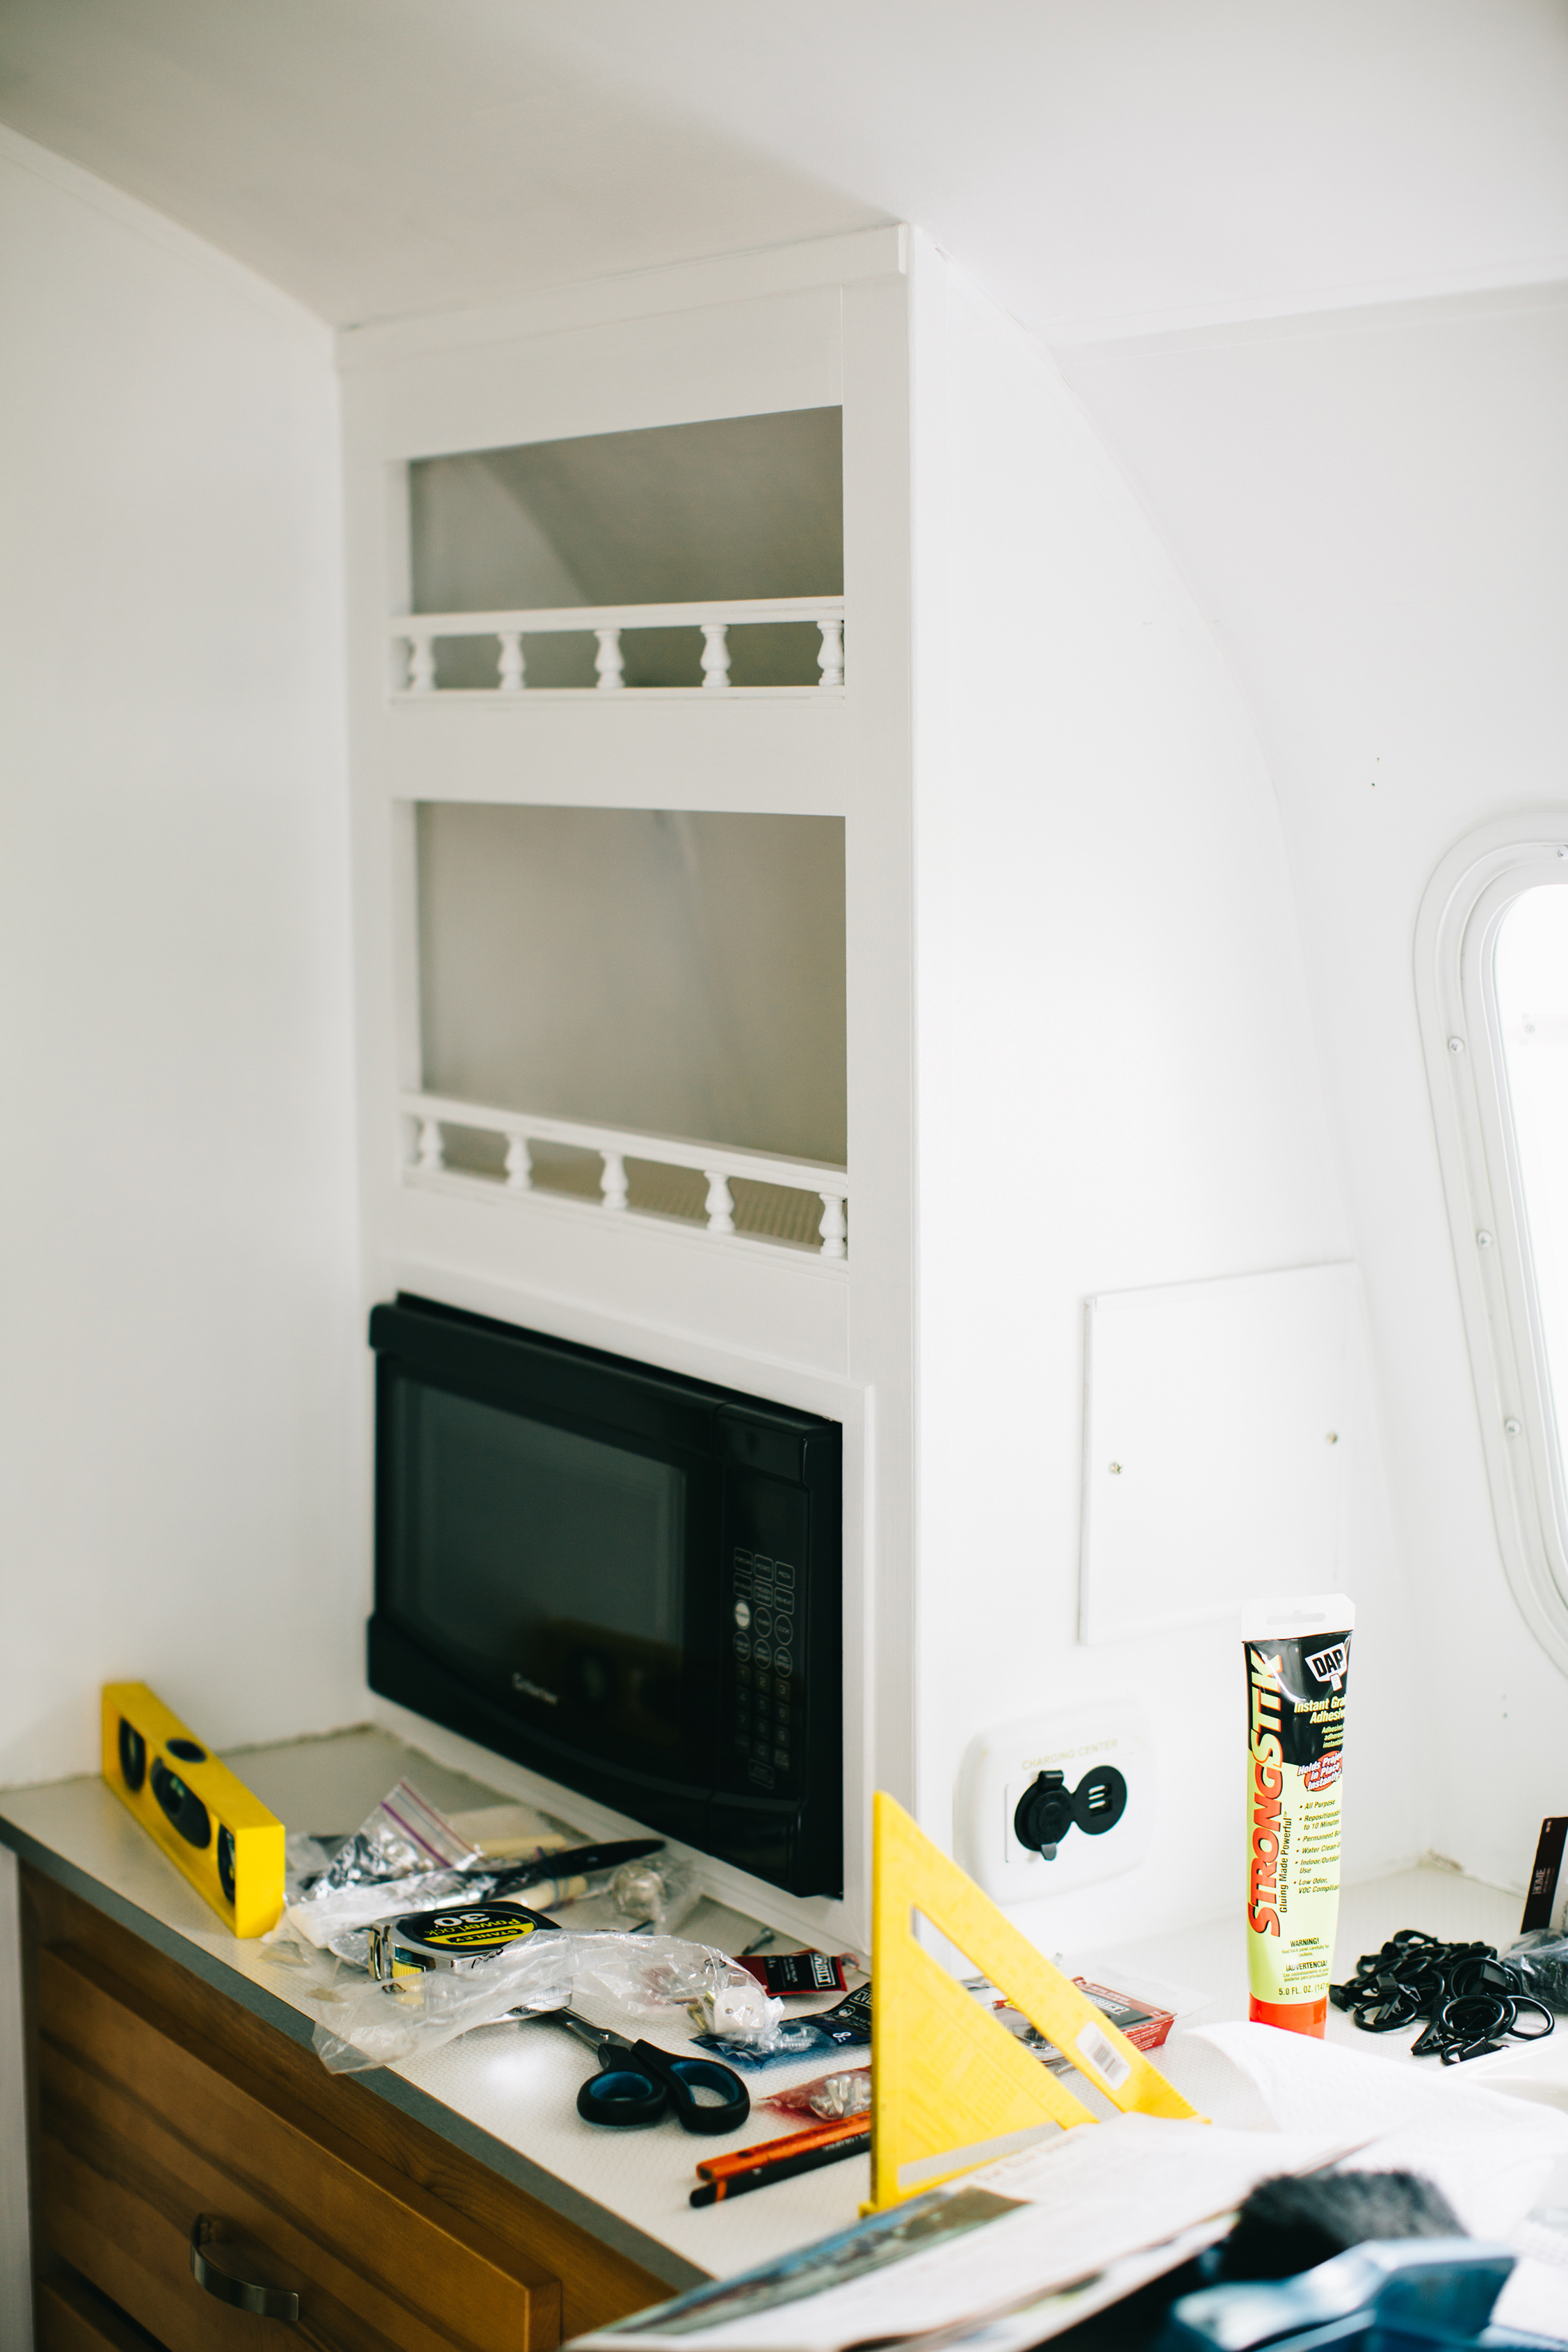
Other things we've done so far:
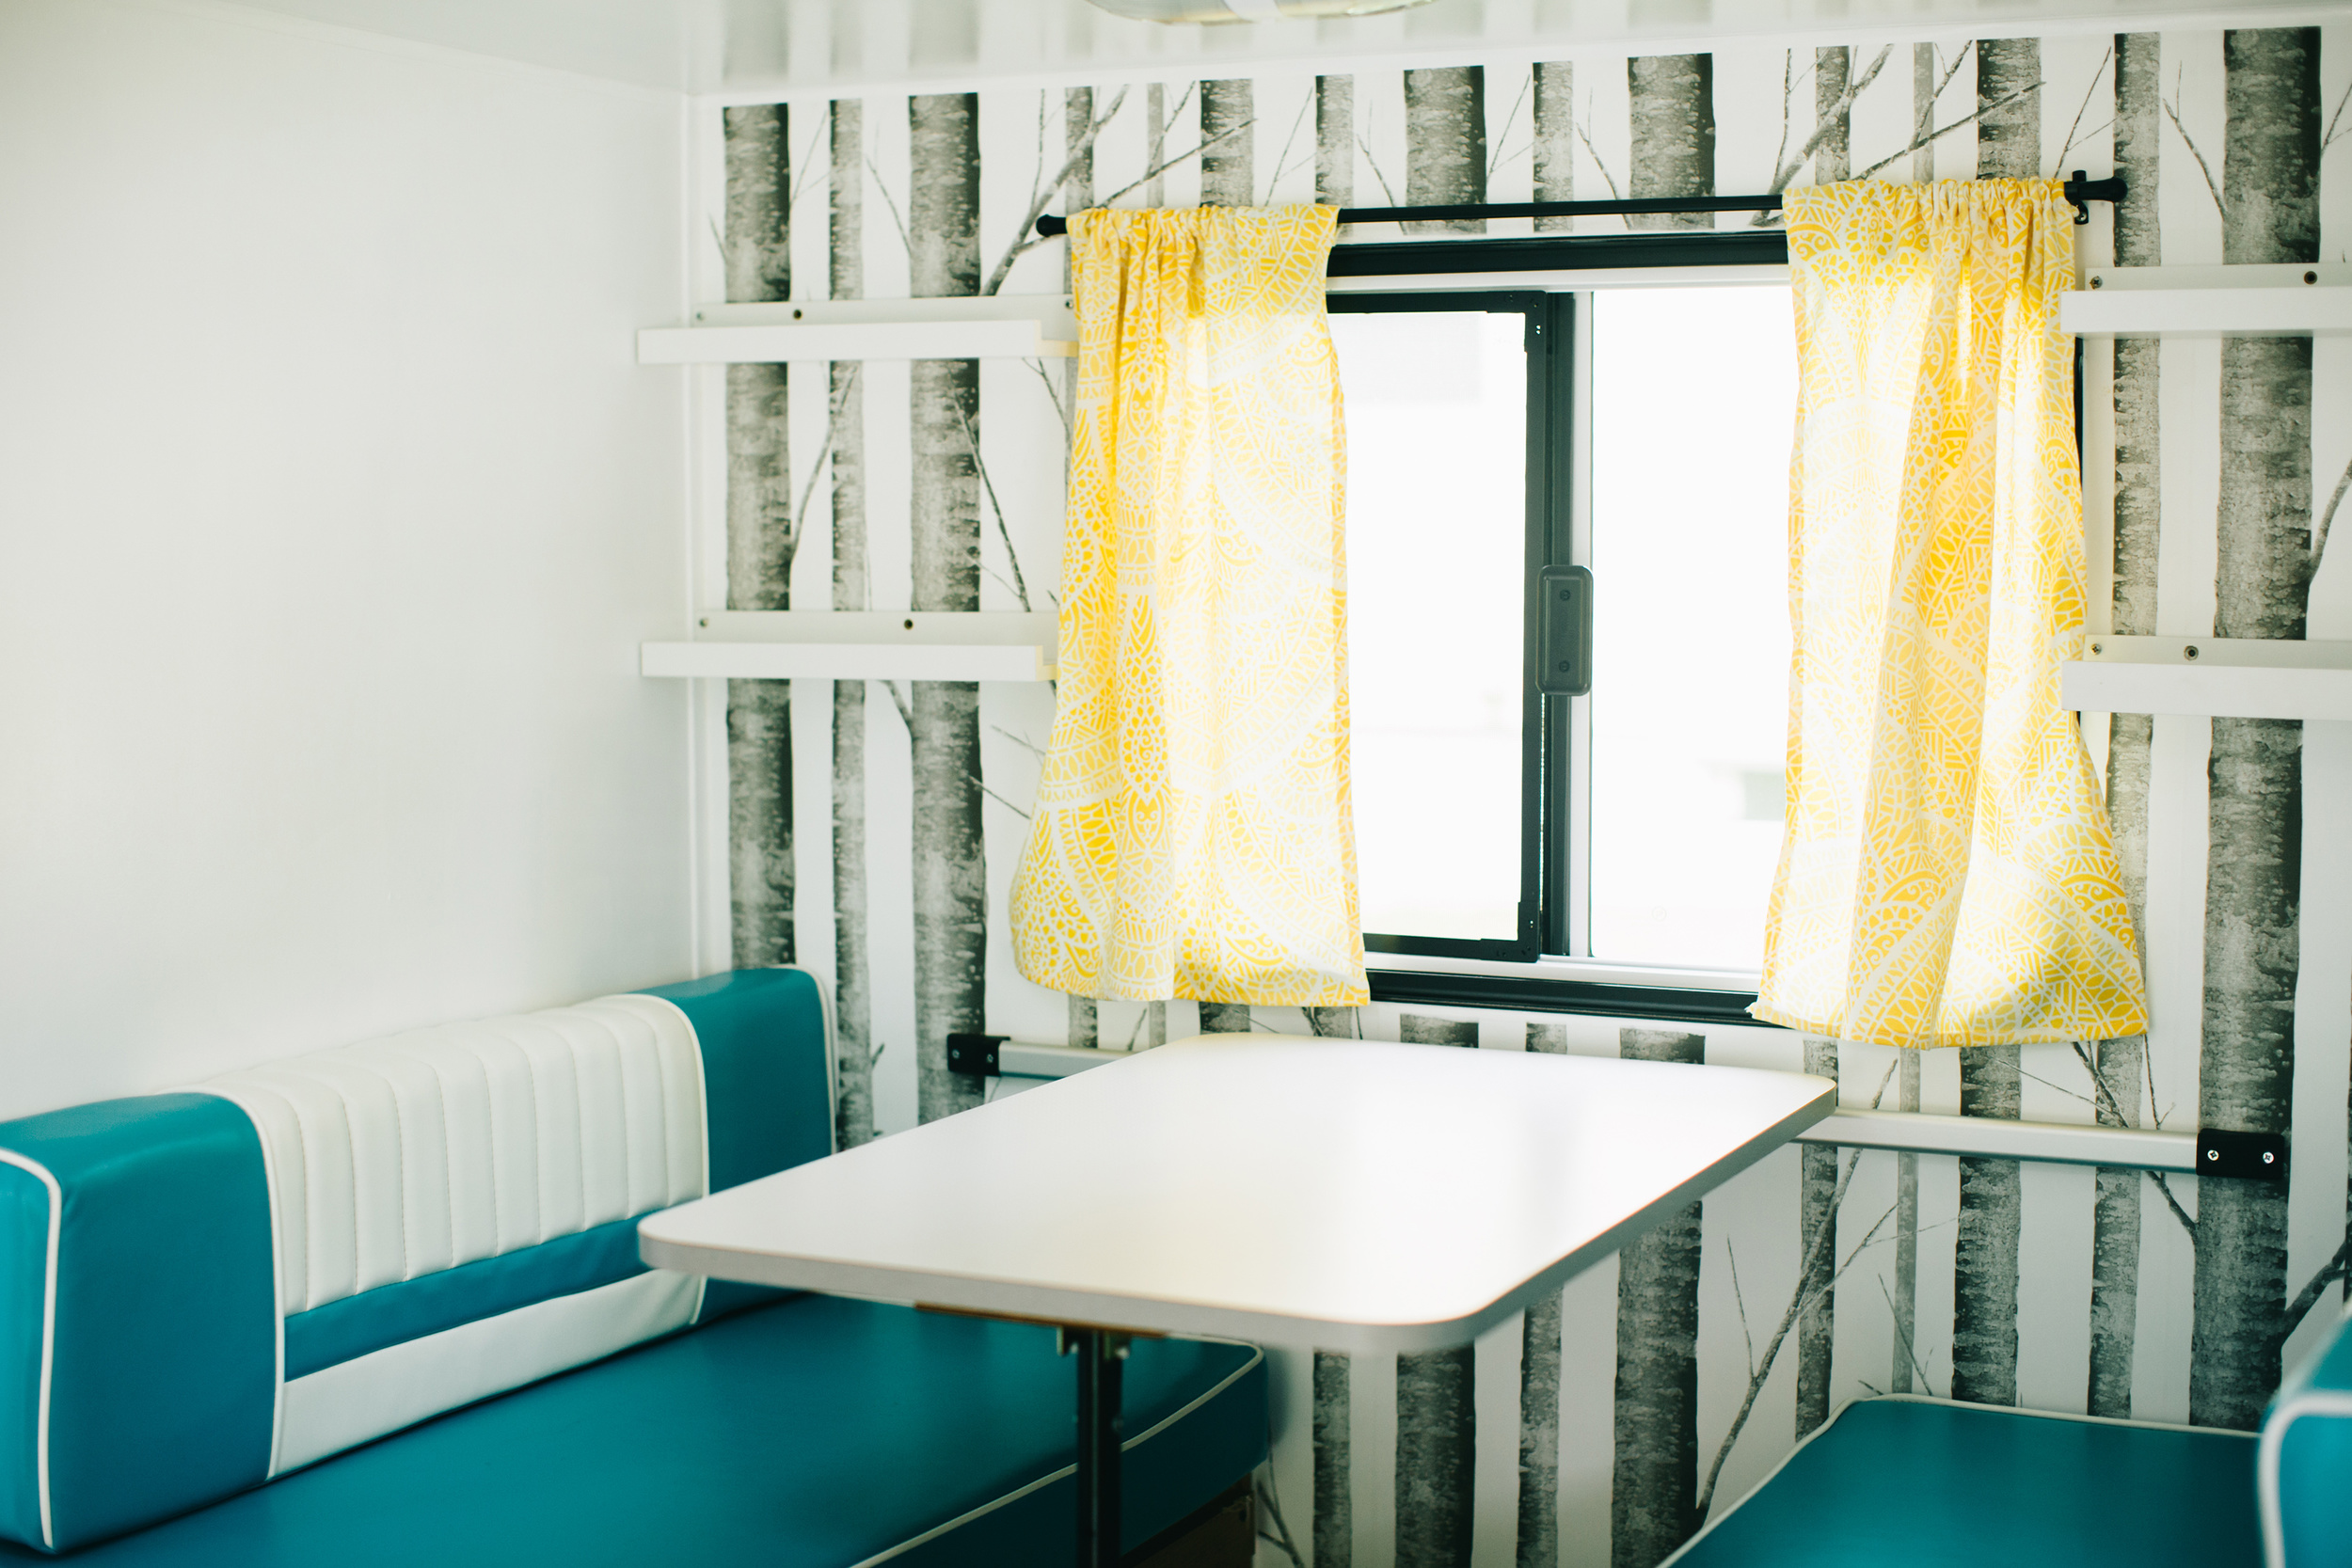
- Applied this wallpaper to the back wall of the dinette
- hung small picture ledge shelves in the dinette (sort of like these...)
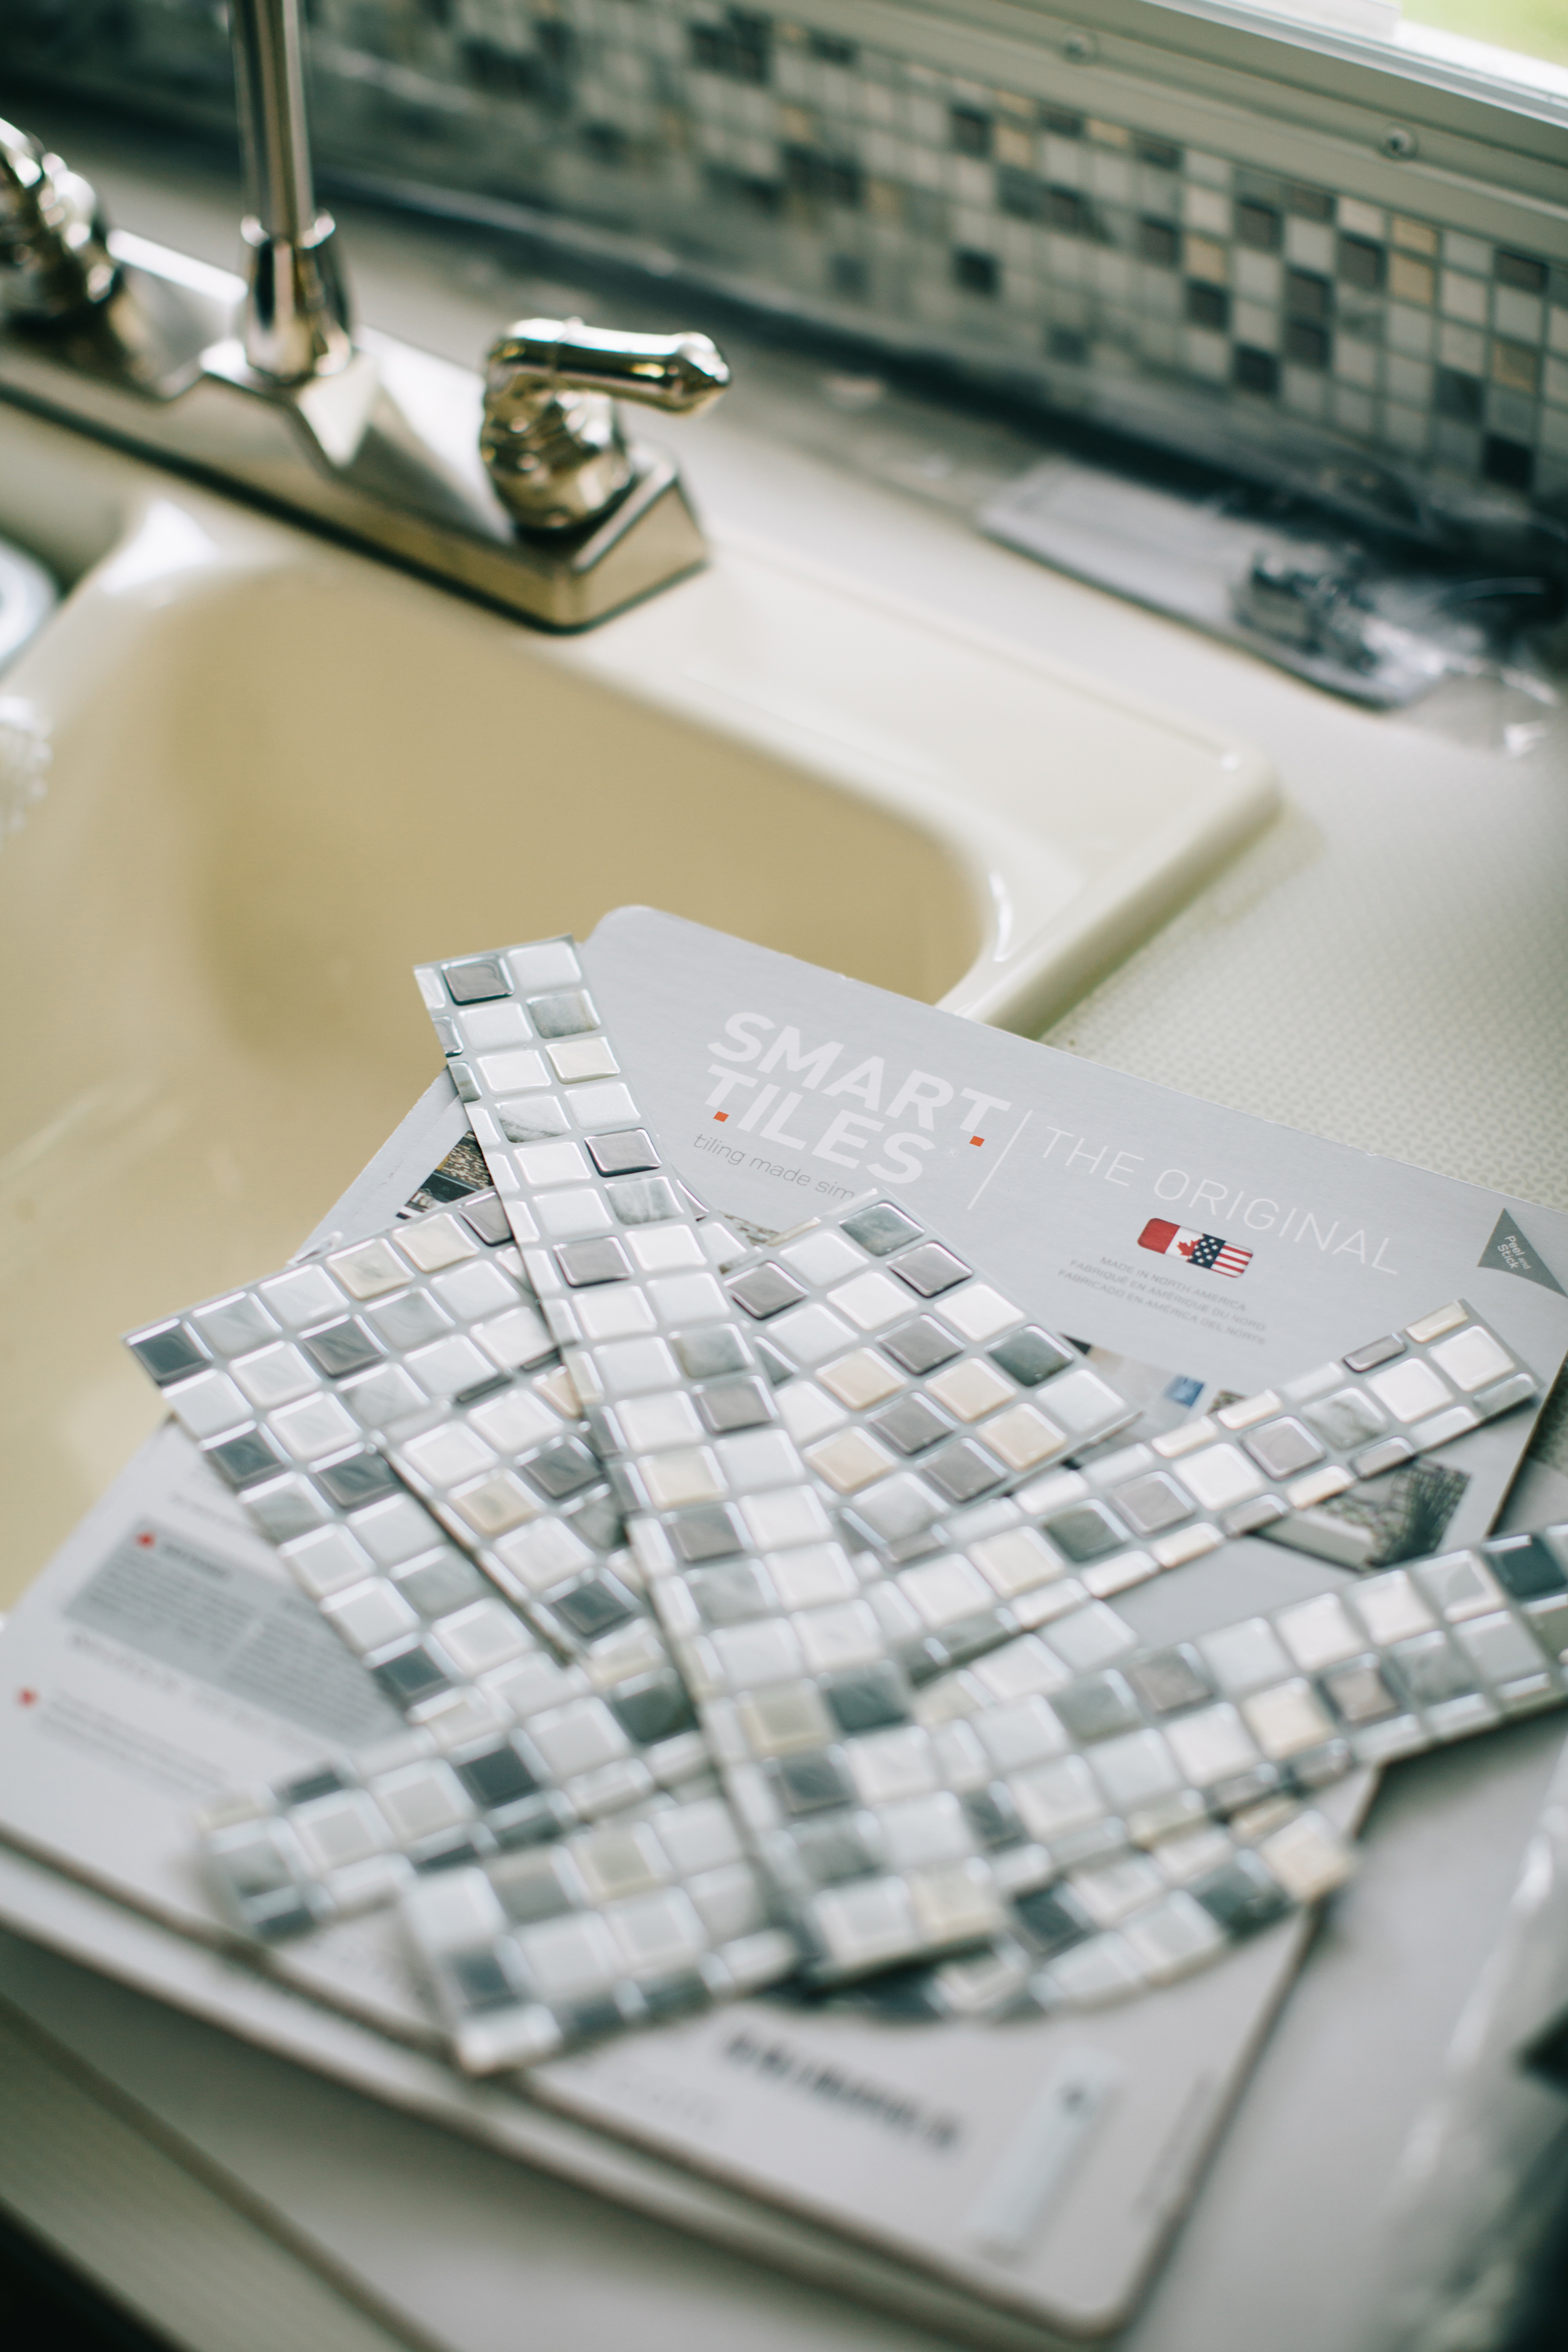
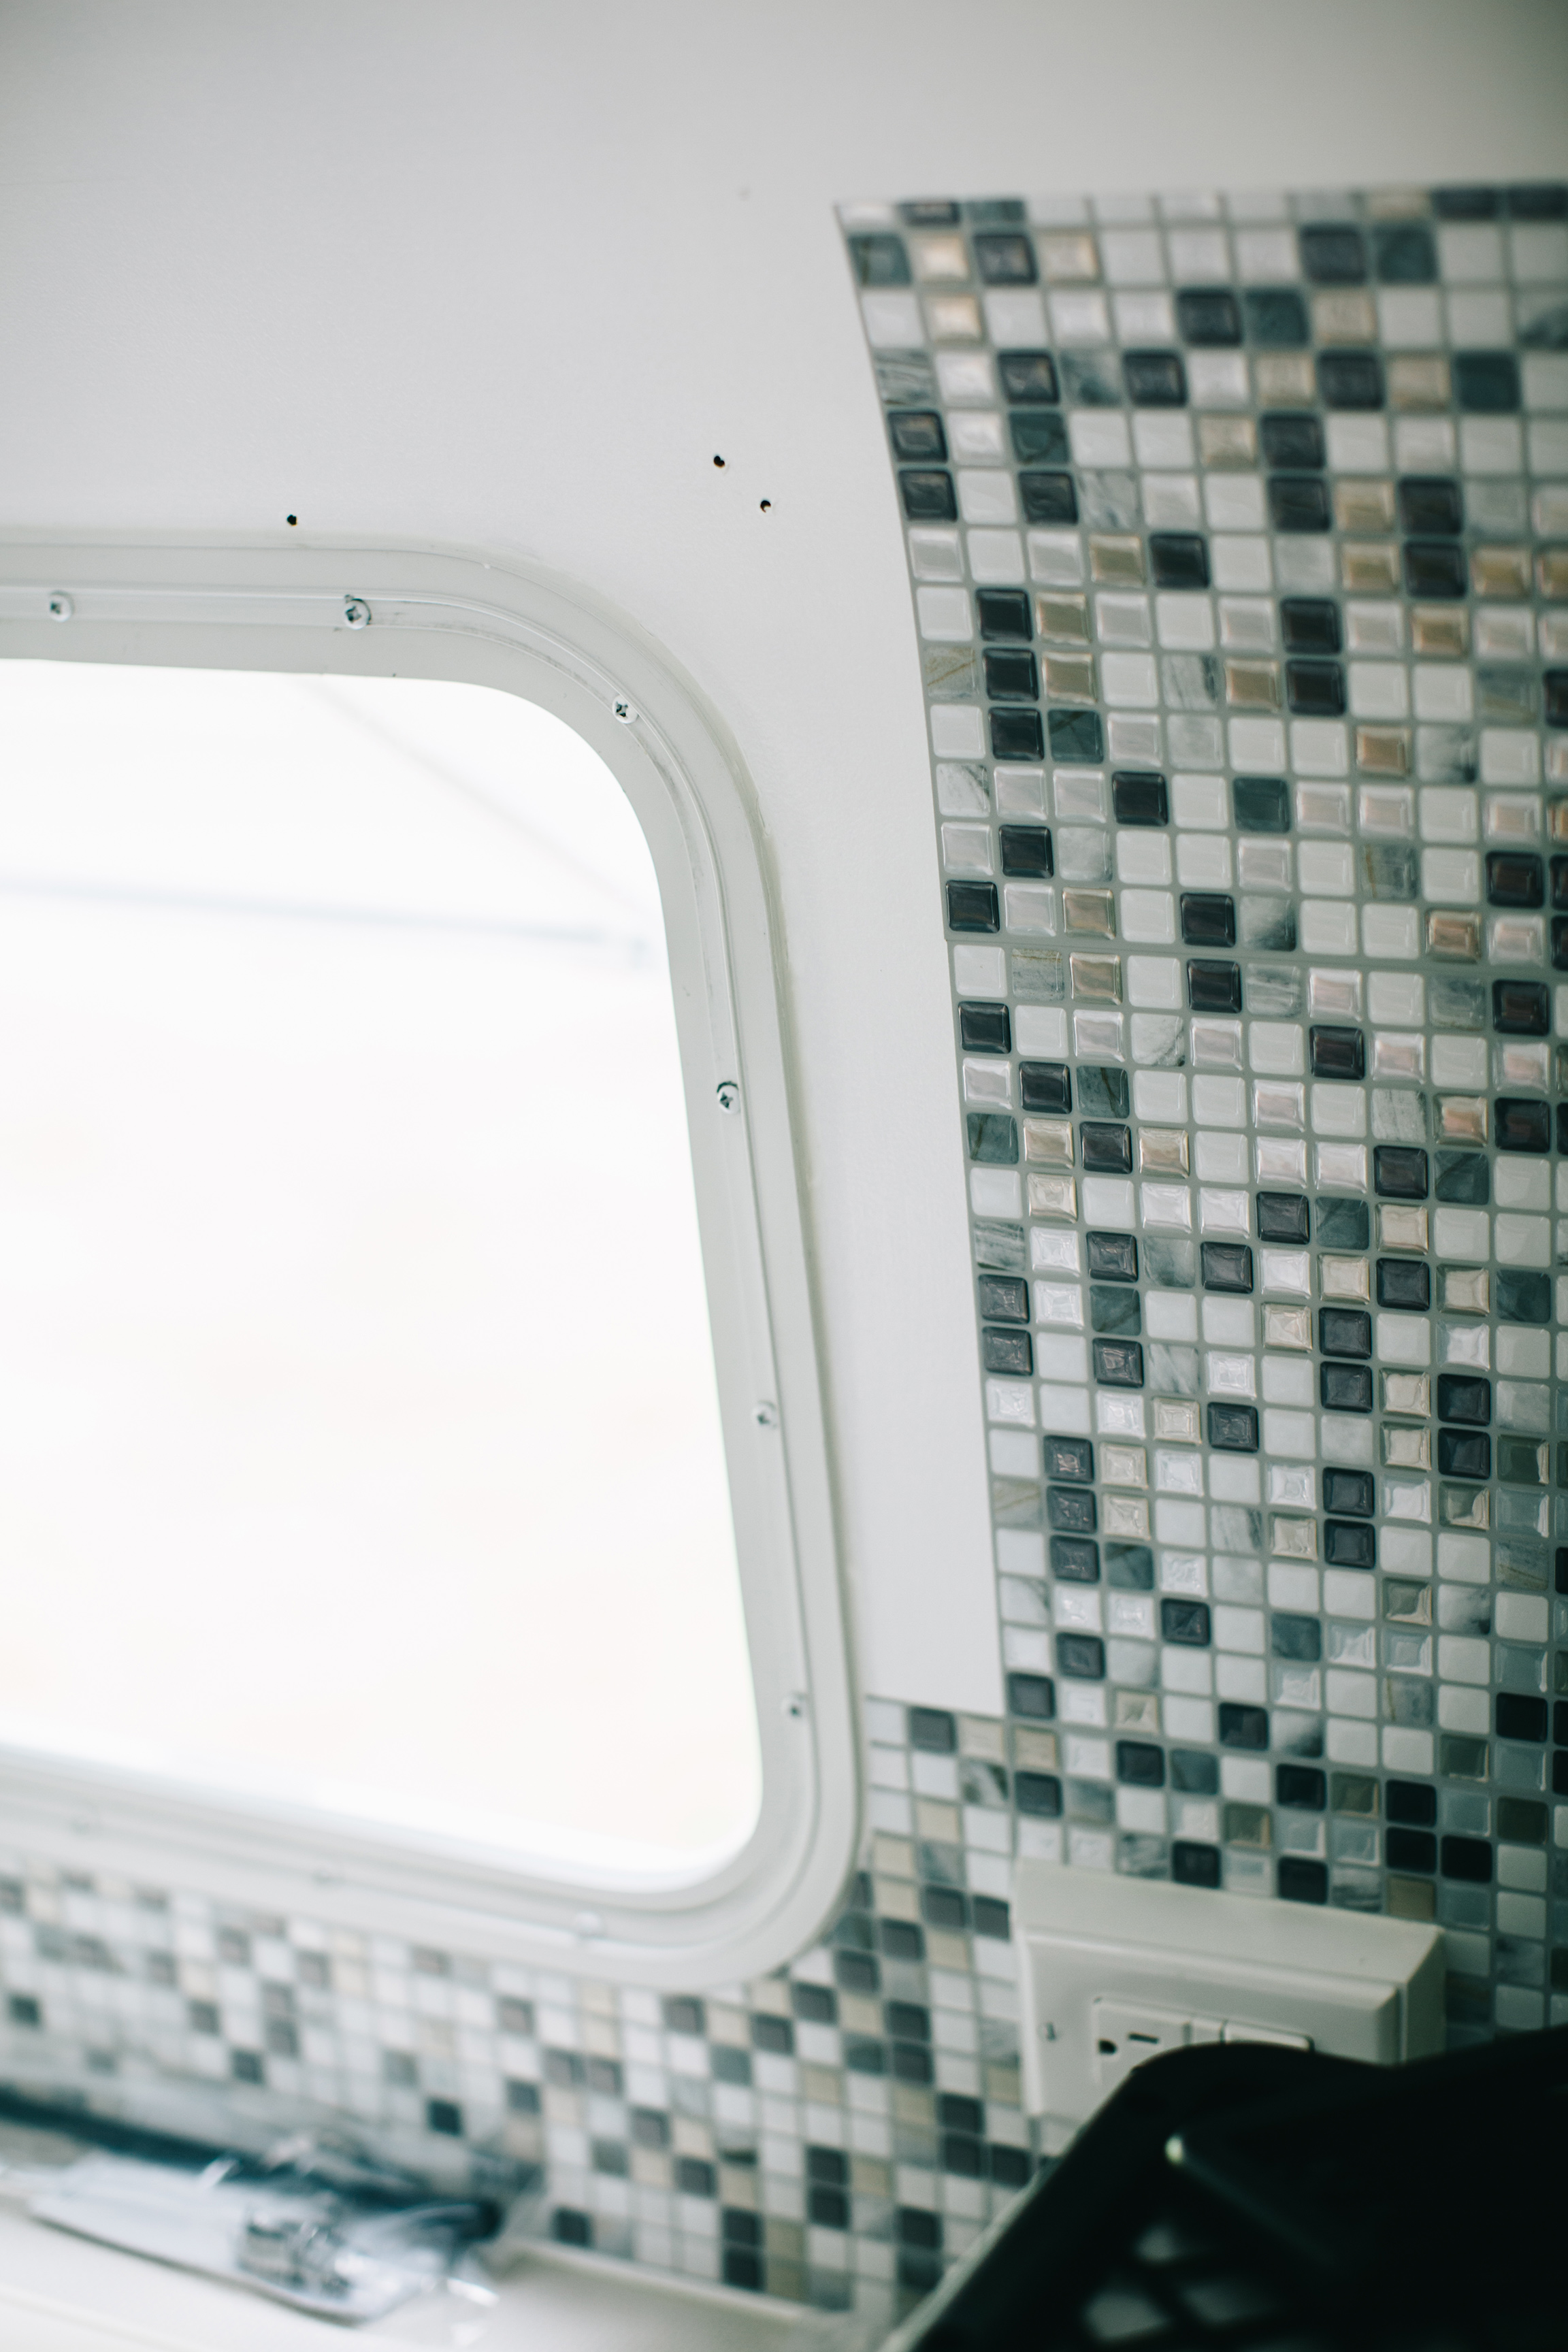
- Began applying these Smart Tiles to the kitchen backsplash...under-ordered and are waiting for a second delivery to finish the job and hang a shelf across the kitchen wall
- applied magnetic & chalkboard paint to the fridge (same issues and had to caulk edges...but it's paintable caulk, so I'll touch them up with chalkboard paint and then test the whole thing!)
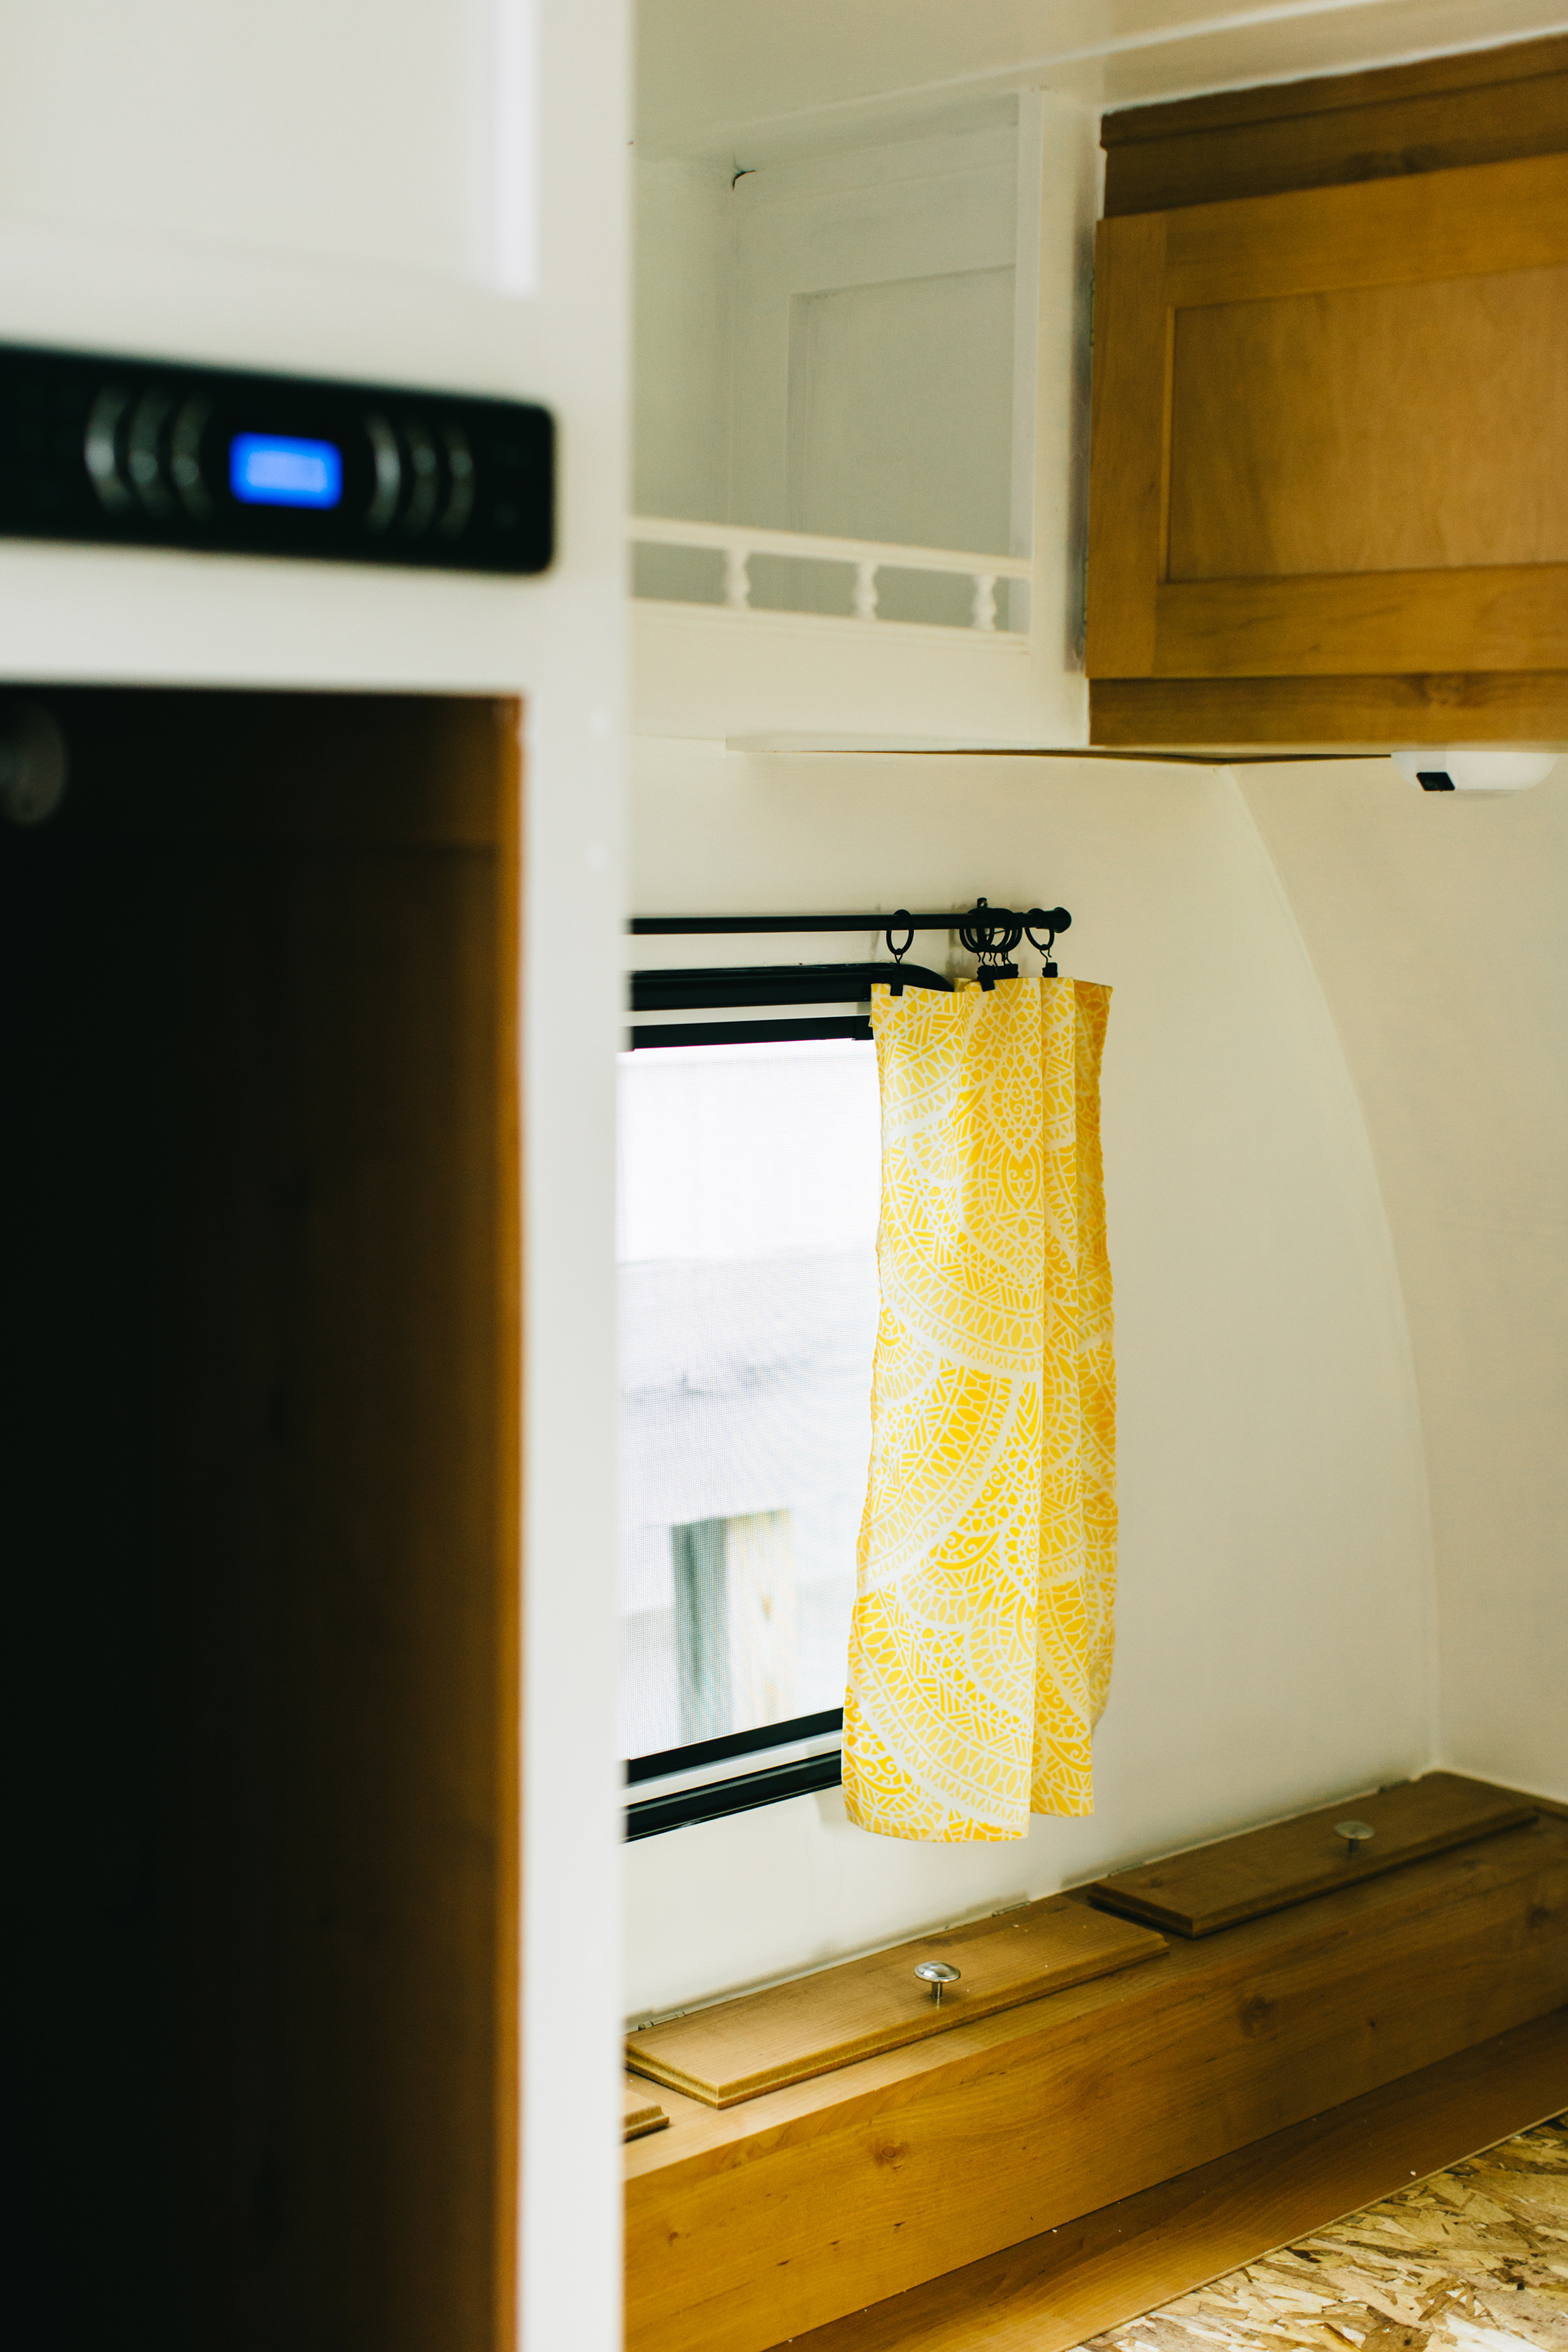
- I sewed some curtains from indoor/outdoor fabric I found on sale at Joann's (though we realized we hung the curtain rods of two windows too low to use the clips I bought to hang them with, so I had to use the top pocket of the curtains instead...not a big deal, but I don't like the look as much) (oh, also...I sewed one of the curtains upside down...oops)
- bought this mattress topper and these cute organic sheets for the new bed (we're going from a full to a queen...so funny to be getting a bigger bed!)


We're under the two-week mark now and it's going to be a race to the finish, I think. We've still not decided where we'll park this thing once we close on the house, so there's that. But I found a co-working space to rent a desk for the next few months, and that takes some of the pressure off...it's good to know that my work can proceed without too much interruption even if we park somewhere without wi-fi!
Next on our list:
- finish the "tiles" and hang the kitchen shelf
- paint the front door yellow (low-priority at the moment)
- mount mirror in the "closet" door
- figure out storage for clothing/food/etc
- dispose of all of our world possessions & clean the house for our awesome buyers!
Sleep is for the weak!
Stay Curious, friends!